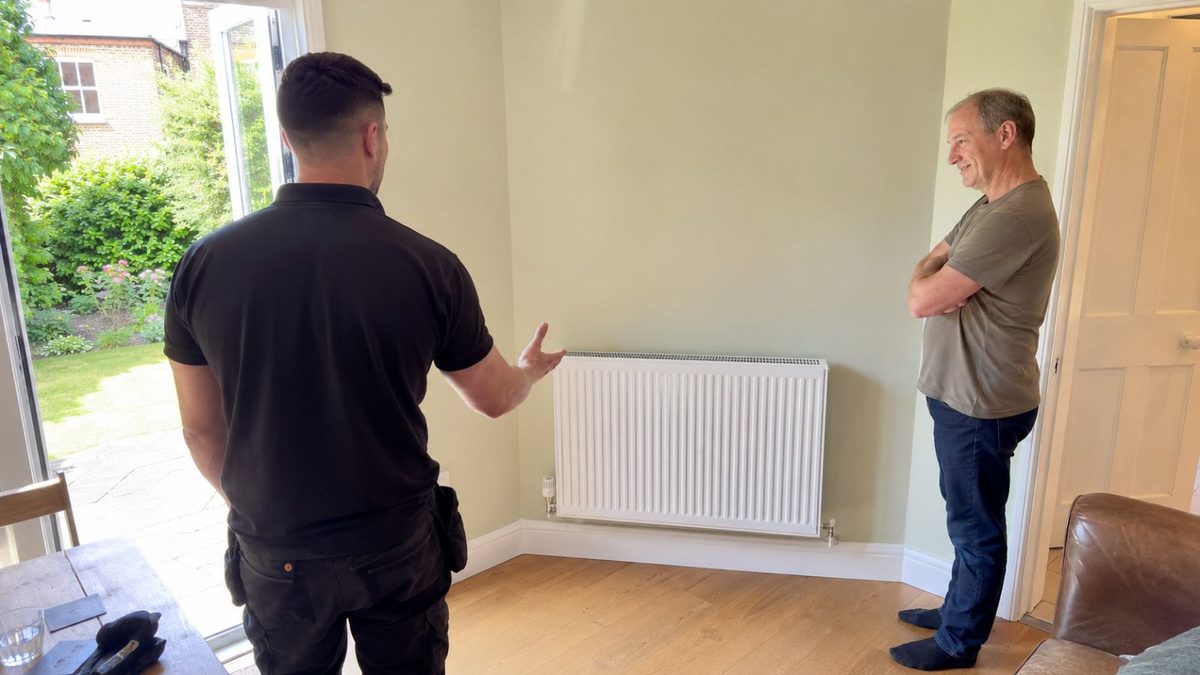
Radiator installation in a period property renovation is rarely a straightforward swap: modern heating panels differ in width and tap-in points from older models, so the existing copper floor pipes often need to be cut, rerouted, and soldered to match the new dimensions.
This case study covers a recent domestic project on Bramford Road in Wandsworth (SW18), where a homeowner needed structural alterations to their central heating circuit during an active home renovation.
The Project: A Renovation With a Pipework Mismatch
The homeowner had bought three new high-efficiency radiators to replace ageing, inefficient steel panels in three separate rooms. The new panels, however, were slightly narrower and deeper than the originals, so the existing pipe entries rising through the floorboards no longer lined up.
Forcing or bending copper pipework to fit an incorrect alignment puts severe physical stress on the joints, which can lead to hidden water leaks under the floor. The job required draining down the localised circuit, lifting a section of floorboards, and altering the copper pipework to match the exact dimensions of the new radiators.
How We Altered the Pipework and Installed the Radiators
This type of job cannot be rushed. Any debris introduced into open pipework travels straight back to the boiler heat exchanger, so we worked through a strict sequence.
Step 1: Draining and Isolating the Circuit
Before cutting into any pipework, the entire central heating circuit was isolated at the main manifold. We drained the system cleanly into an external drain, so no mess or moisture reached the freshly plastered walls.
Step 2: Altering the Sub-Floor Copper Pipework
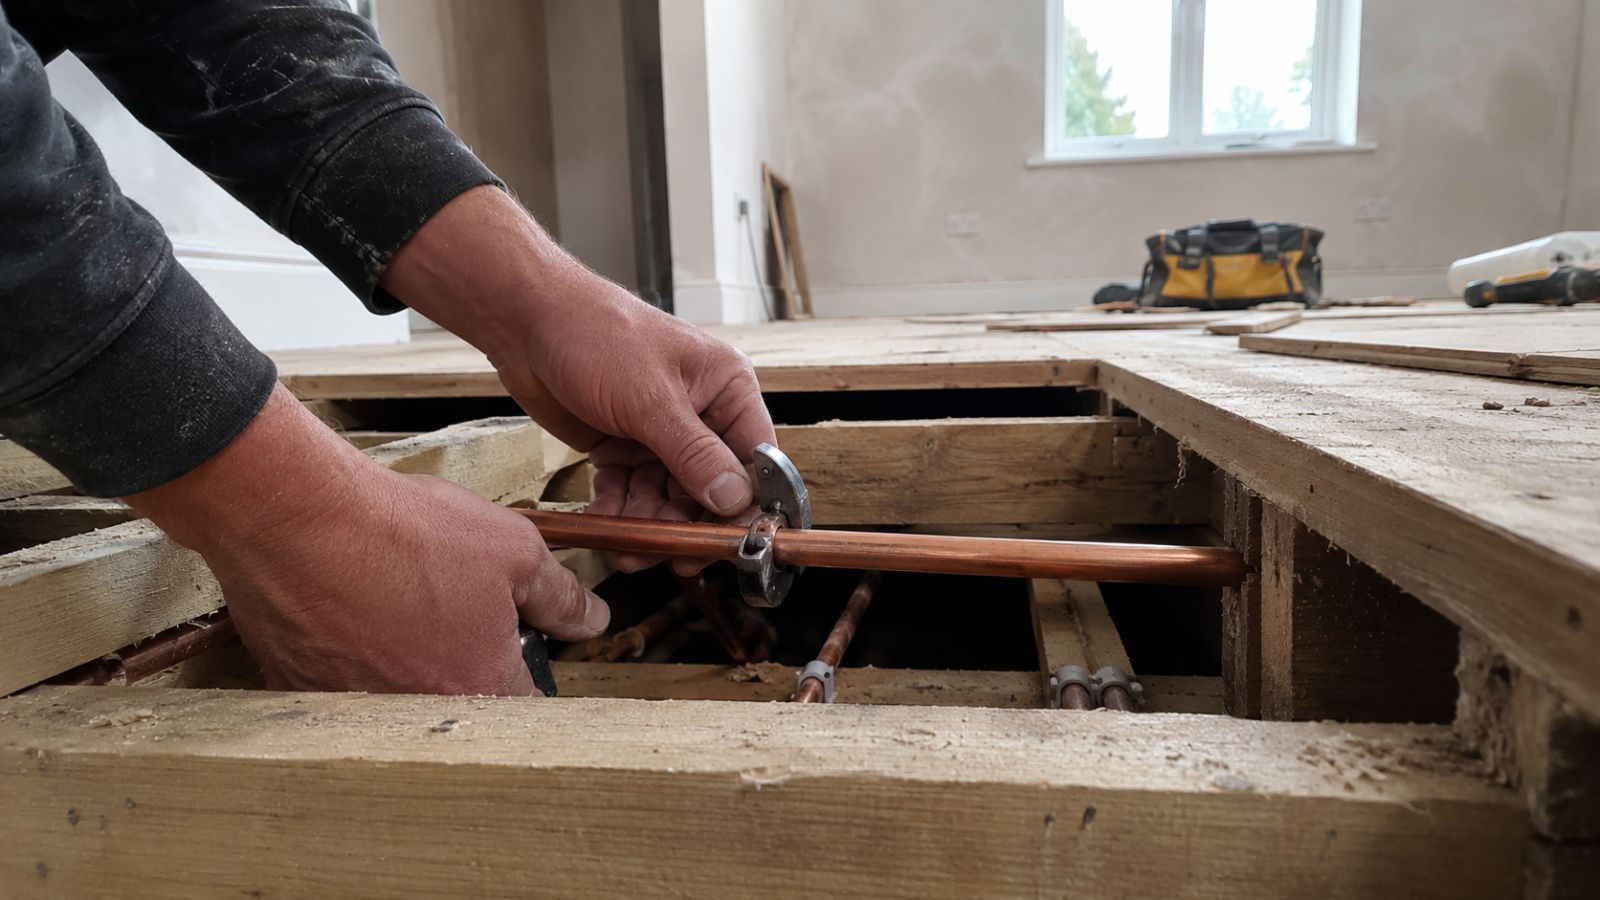
With the system dry, we lifted the floorboards to expose the original 15mm copper heating feeds. Using a pipe cutter, we removed the outdated sections and soldered new copper elbows and extensions, shifting the pipe centres inward by exactly 45mm to line up cleanly with the new radiator valves.
Step 3: Mounting and Commissioning
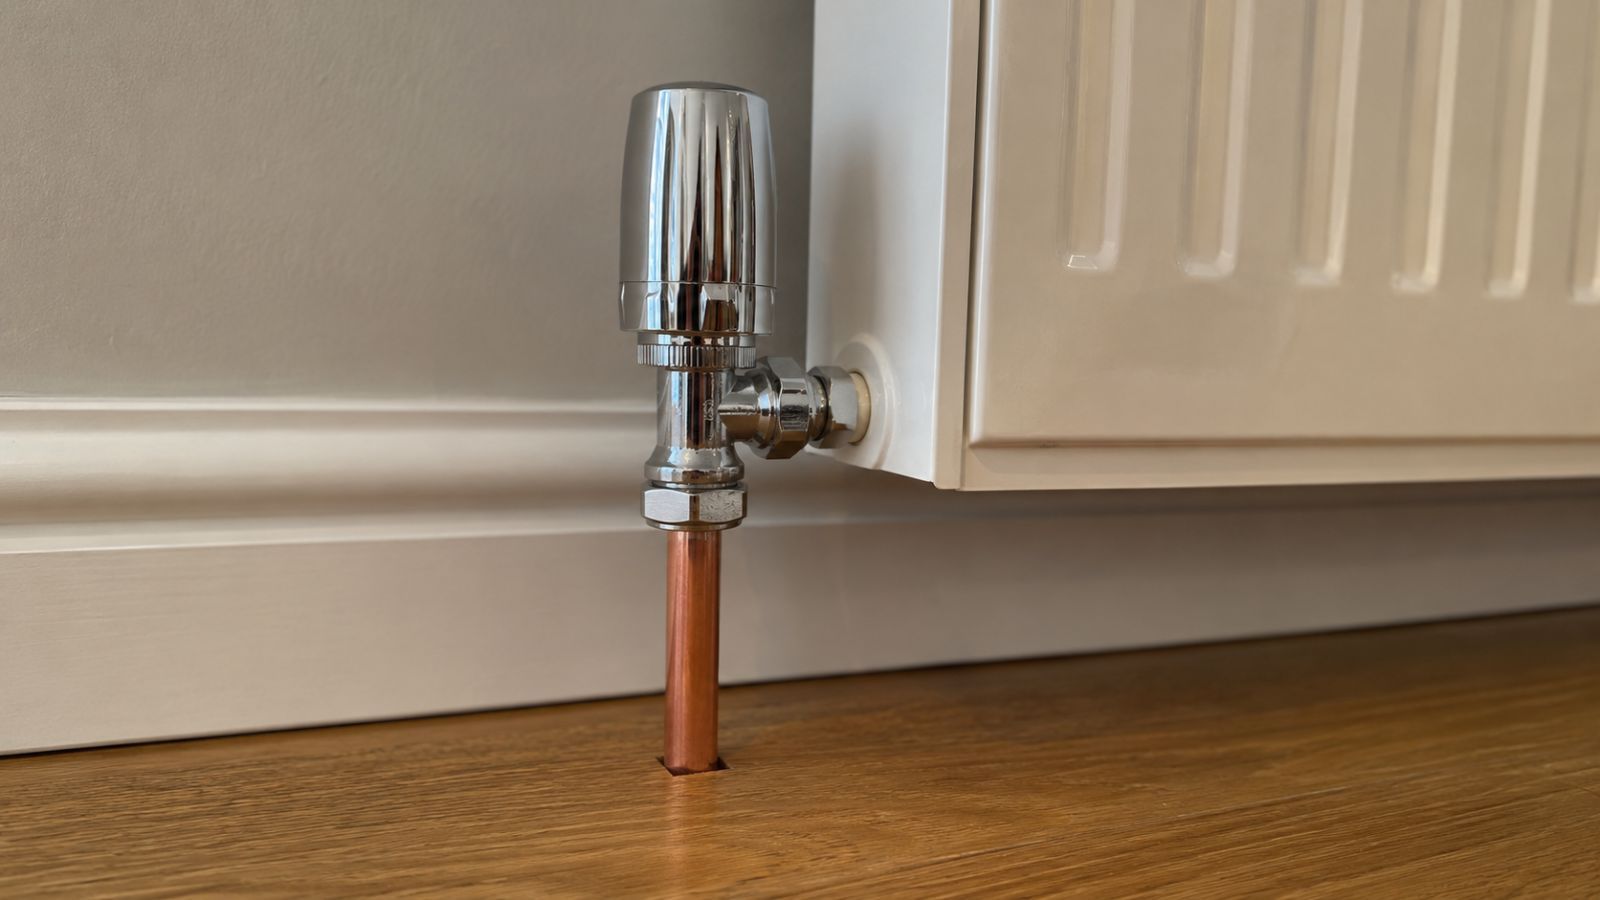
We secured heavy-duty wall brackets into the brickwork, checking for perfectly level alignment to prevent internal air pockets. Once the panels were hung, we connected the chrome radiator valves to the newly repositioned pipes.
Refilling, Chemical Treatment and Testing
With all three radiators installed, we refilled the sealed system from the mains supply. Fresh mains water introduces oxygen that can cause internal rust, so we added a professional chemical inhibitor to prevent future black oxide sludge build-up.
We bled the entire system to clear the air locks, checked the boiler pressure gauge, and set the baseline cold pressure to a stable 1.1 bar. The heating was then run at maximum output for 45 minutes so we could complete hot tightness checks on every new joint and confirm balanced heat output across the property.
Expert Heating Support in Wandsworth
Handling pipework alterations during a home renovation calls for precise trade calculations, so your flooring and decoration aren't put at risk from a sudden system drop.
R.W. Miller provides honest, highly targeted domestic support across South London, including Wandsworth, Bromley, Lambeth, and Greenwich. All projects are personally handled by Reion Miller, a fully qualified independent engineer registered with the Gas Safe Register (Reg. No. 919881).
If you're renovating your property and need an experienced specialist for a radiator installation in Wandsworth or a structural system alteration, visit our Wandsworth central heating page to see our full local coverage.
Book a Radiator Installation in Wandsworth
Our trade rates for plumbing modifications are fully transparent.
- Initial system diagnosis and first hour of labour: fixed £80 fee
- Subsequent engineering labour (per hour): clear £90/hr rate
If your renovation needs professional pipe alterations, or you'd like to replace your old radiators cleanly, call Reion Miller directly on 07375 813996 or book a fixed-price assessment online.